Government ID Verification Workflow That Works
Build a government ID verification workflow that speeds agreements, strengthens signer assurance, and creates audit-ready evidence from start to finish.
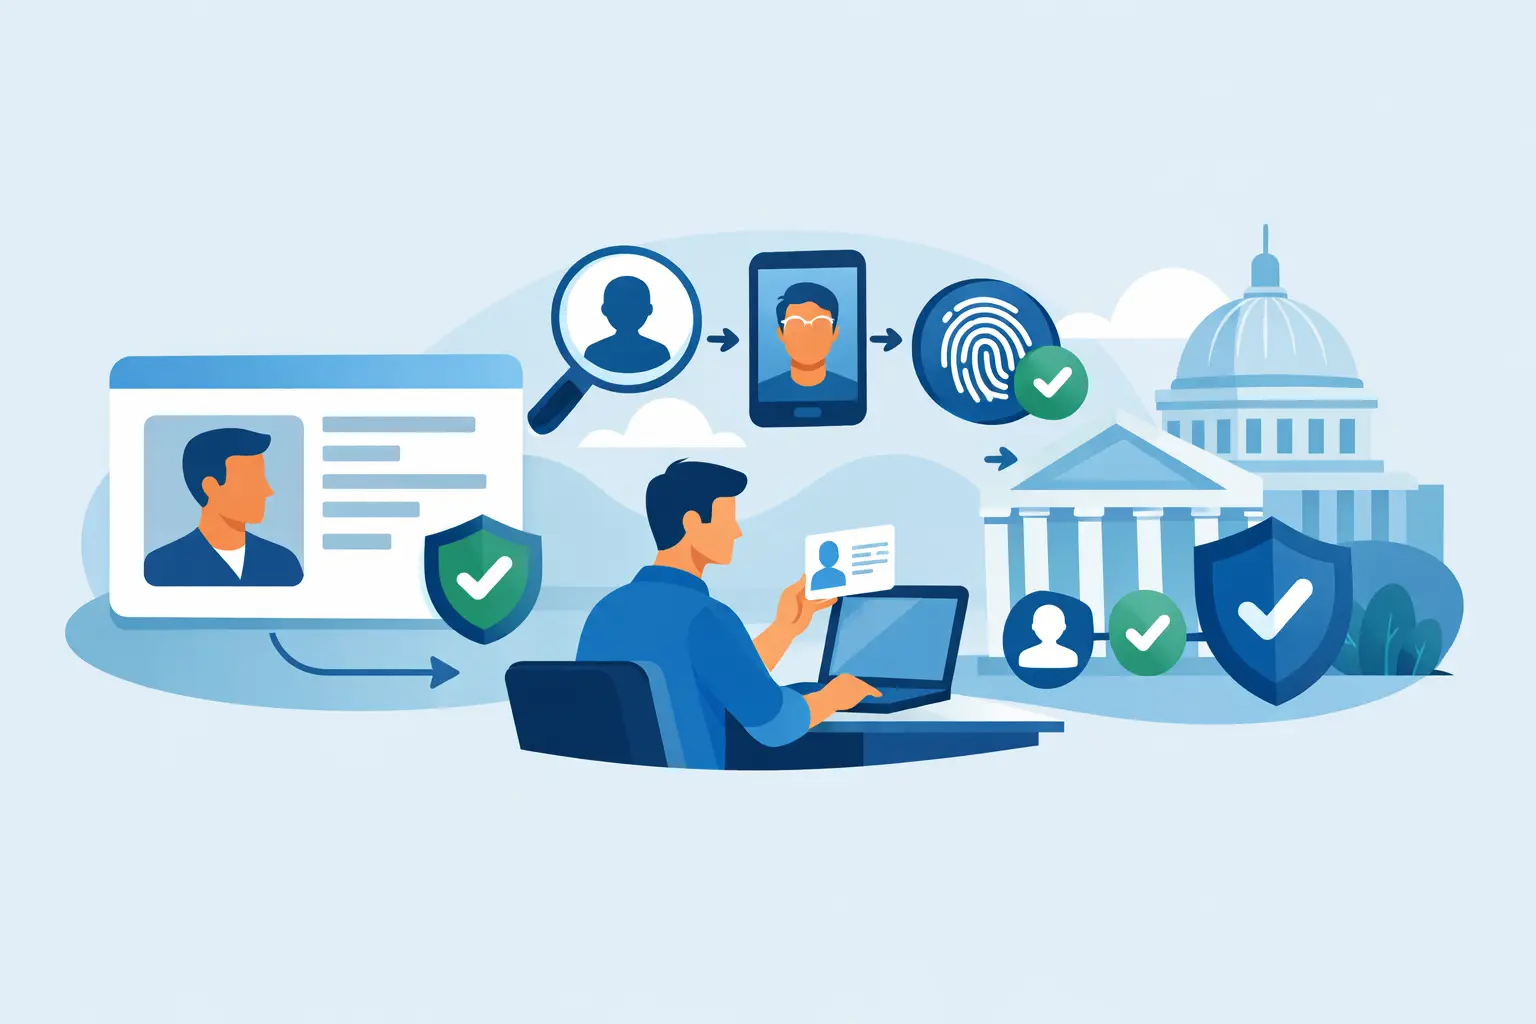
A signature proves that someone completed a signing action. It does not always prove that the signer is the person they claim to be. That distinction matters when a contract carries financial, legal, medical, or employment consequences. A well-designed government ID verification workflow closes that gap without turning a simple agreement into a frustrating obstacle course.
For sales, HR, legal, operations, and compliance teams, the goal is straightforward: ask for stronger identity evidence when the risk justifies it, capture that evidence securely, and keep the signed agreement moving. The best workflow is not the one with the most checks. It is the one that applies the right checks at the right moment and leaves a clear record behind.
What a government ID verification workflow does
Government ID verification compares a person’s submitted identity document with signals that help establish whether the document is real and whether the person presenting it is its rightful holder. Depending on the provider and configuration, this can include ID document capture, document checks, biometric face matching, liveness detection, and database validation.
In an agreement workflow, verification should sit next to the signature process rather than live in a disconnected system. A recipient receives the document, completes the required identity step, signs, and generates an audit trail that connects the verification event to the agreement itself.
That connection matters. If a contract is later questioned, teams should be able to show more than a name typed into a signature field. They need a defensible record of what happened, when it happened, and what identity checks were completed before the document was signed.
When to require identity verification
Not every document needs a government ID check. Requiring it for a low-risk internal acknowledgment can add friction with little benefit. But skipping it on a high-value, regulated, or dispute-prone agreement can leave too much uncertainty around signer identity.
A useful rule is to match verification strength to transaction risk. Consider the agreement’s value, the sensitivity of its data, the likelihood of fraud, the legal requirements in the relevant jurisdiction, and the cost of a challenged signature.
Government ID verification is often a strong fit for employment agreements, financial forms, healthcare documentation, real estate transactions, high-value sales contracts, legal waivers, and account changes. It can also help organizations that need stronger identity assurance for cross-border agreements or eIDAS-compliant Advanced Electronic Signatures.
For routine documents, a standard eSignature workflow with access controls, signer authentication, timestamps, IP addresses, and a complete audit trail may be appropriate. The point is not to verify every signer the same way. It is to make the decision intentional and consistent.
Build the workflow around the agreement
A government ID verification workflow works best when teams design it as part of the document process, not as an afterthought added after a dispute. Start by defining the document types that require identity verification and the approval rules that apply before sending.
For example, HR might require ID verification only for new-hire agreements submitted from outside the company’s managed device environment. A legal team may require it for settlement agreements over a defined value. A financial services team may require it for every new customer authorization. These policies should be easy for senders to follow without asking compliance for a decision on every document.
1. Prepare the document and set the rules
Create a controlled template for each high-assurance use case. Add required fields, define recipient roles, and set the signing order. If an internal reviewer must approve the document before it reaches the signer, place that approval in the same workflow.
Then apply verification only to the recipient who needs it. A counterparty signing a sensitive agreement may need government ID verification, while an internal witness or approver may not. Targeted checks keep the experience faster for everyone else.
2. Ask for verification at the right point
Verification should happen close enough to the signature that the identity evidence is meaningful. In most cases, prompting the recipient before they sign is the cleanest approach. They can capture their ID and complete the face check from a phone or computer, then continue directly to the agreement.
Make the instruction plain: why the check is required, what document types are accepted, and what to do if the check fails. Vague language creates support tickets. Clear language protects completion rates.
Timing also depends on risk. Some organizations verify before showing a sensitive document. Others let recipients review the agreement first, then require verification before signing. The latter can feel less abrupt, but the former may better protect confidential information. Choose based on what the document contains and who should be allowed to access it.
3. Validate the ID and the person presenting it
A photo of an ID alone is not enough for many higher-risk workflows. The workflow should check the document and, where needed, confirm that a live person is presenting it.
Biometric face matching compares the document portrait with a selfie or live capture. Liveness detection helps distinguish a real person from a static image, replayed video, or manipulated media. Database validation can add another signal by checking document or identity data against available sources.
No single signal is perfect. A valid ID can be stolen, a face match may fail because of poor lighting, and database coverage varies by country and document type. Combining signals creates a more credible result, while a manual review path prevents legitimate recipients from being blocked by an automated edge case.
4. Route exceptions without losing control
A verification failure should not automatically become a dead end. Set clear outcomes for expired IDs, unreadable images, mismatched names, incomplete captures, and suspected fraud. Low-risk technical issues may justify a retry. Material discrepancies may require a trained reviewer, a different document, or a halt to the transaction.
Keep exception handling inside a controlled queue with limited access. The reviewer should see the reason for the exception, the relevant identity evidence, the agreement status, and the actions already taken. They should not need to reconstruct the story from email threads.
This is where policy matters most. Teams need defined thresholds for approval, rejection, and escalation. Without them, two reviewers can make different decisions on the same evidence, creating unnecessary risk and inconsistent customer experiences.
5. Seal the evidence with the signed record
Once verification and signing are complete, preserve the evidence that supports the transaction. At a minimum, the audit record should show document creation, sending, views, identity verification events, signature events, timestamps, and relevant IP addresses.
Security controls matter just as much as workflow design. Agreements and identity data should be encrypted in transit with TLS and at rest with 256-bit AES. Tamper-evident sealing helps show whether a completed document has changed, while access controls and workspace isolation limit who can view sensitive records.
Retention should follow your legal, contractual, and privacy obligations. Keeping identity evidence forever is not automatically safer. It can increase exposure. Define what must be retained, who can access it, where it is stored, and how it will be deleted when the retention period ends.
Common mistakes that slow teams down
The most common failure is treating identity verification as a separate compliance project. When documents are prepared in one system, verification happens in another, and signatures are collected somewhere else, staff end up manually matching records. That wastes time and makes audits harder.
Another mistake is applying maximum verification to every agreement. Stronger checks can improve assurance, but they also add steps. A practical workflow uses a tiered approach: standard signing for low-risk documents, stronger authentication for moderate-risk agreements, and government ID plus liveness checks for transactions where identity certainty matters most.
Finally, do not overlook branding and communication. A recipient who receives an unfamiliar verification request may hesitate or abandon the process. Send from a verified business domain, explain the reason for the check in plain language, and make the process feel like a trusted part of your organization’s agreement experience.
Keep speed and assurance in the same workflow
The right platform brings documents, approvals, eSignatures, identity verification, and audit evidence into one controlled process. With BeeSign, teams can prepare an agreement, assign verification to the right signer, collect government ID and biometric checks, and retain the completed record alongside the signed document.
For product teams, the same principle applies when verification is embedded through an API. The identity step should mirror the application’s existing journey, pass clear status updates back to the product, and avoid forcing users into disconnected portals. Your team gets control without building an identity and signing stack from scratch.
A government ID verification workflow should make high-assurance agreements easier to complete, not harder to manage. Build it around the moments where identity truly matters, give legitimate signers a clear path through it, and keep the evidence ready when someone needs to trust the signature later.
Ready to transform your workflow?
Start using BeeSign today and experience the future of document signing