How to Embed eSignature Into Your App Securely
Learn how to embed esignature into app workflows with secure APIs, audit trails, identity checks, and a signing experience users trust at scale.
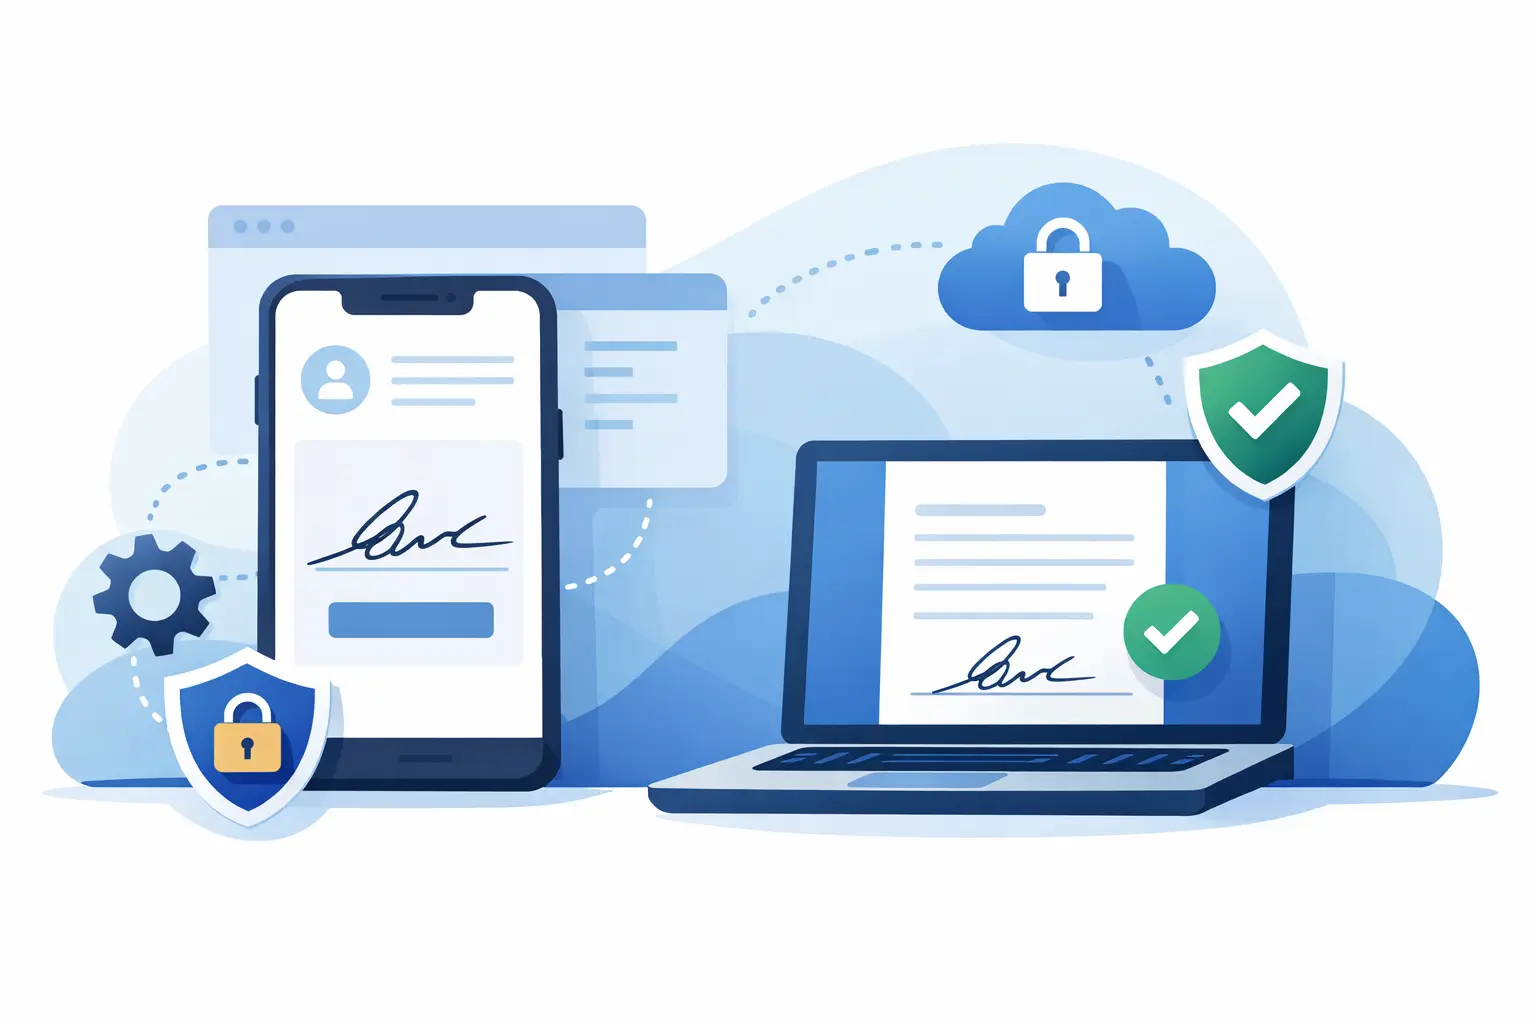
A customer has finished an application, accepted the price, and is ready to sign. Sending them to a separate tool, asking them to create another account, or making them download a document adds friction at the exact moment you need momentum. Knowing how to embed esignature into app workflows lets you keep signing inside your product while maintaining the security, evidence, and control an agreement needs.
For product teams, embedded signing is not just a UI feature. It is an agreement workflow that touches authentication, document generation, recipient access, audit records, notifications, and sometimes identity verification. Get those pieces right and users can sign in minutes, not days. Get them wrong and a convenient signing flow can become a compliance and support burden.
Start with the signing workflow, not the API
Before choosing endpoints or building a signing screen, map the agreement journey. Define what starts the process, who prepares the document, who must approve it, who signs, and what happens after the final signature. A sales contract may need an internal pricing approval before the customer receives it. An HR offer letter may require an employee signature and a countersignature. A healthcare intake form may need identity assurance before the form is accepted.
This step matters because an embedded eSignature experience should reflect your product's actual rules. If users can generate a contract only after a payment is approved, your application should not create a signing request earlier. If two people must sign in order, the second recipient should not receive access until the first action is complete.
Also decide which documents are repeatable and which are one-off. Repeatable agreements are usually best handled as templates with predefined text, fields, signing roles, and routing. One-off documents may be generated from application data, uploaded as PDFs, or assembled from a form. Templates reduce field-placement mistakes and help teams standardize language across every agreement.
How to embed eSignature into an app: choose the right model
There are two common ways to place signing inside a product. The right choice depends on how much control you need and how your users work.
An embedded signing session opens the provider's signing experience within your application, often in an iframe, modal, or hosted page under your product flow. Your backend creates the document and recipients through an API, then requests a short-lived signing session for the correct signer. This is usually the fastest route to a polished, legally defensible signing flow because the eSignature platform handles field rendering, consent, signature capture, and completion evidence.
A fully custom interface gives you more visual control, but it also gives you more responsibility. You must correctly display the final document, connect each interaction to the right field, preserve signer intent, secure access, and generate a reliable audit record. For most teams, this is not a worthwhile place to reinvent the wheel. Keep your app's branding and workflow around the signing experience, while using a specialized platform for the agreement layer.
White-label options can close the gap. With a custom domain, branded emails, and a signing page that fits your visual system, the process feels native without requiring your engineers to build legal and security-critical signing infrastructure from scratch.
Build the integration around your backend
Never let your frontend hold permanent API credentials or decide whether a document is ready to send. Your server should be the source of truth for document creation, recipient permissions, workflow state, and completion status.
A practical integration usually follows these steps:
- Create or select a document. Your backend generates a document from a template or uploads a finalized PDF. Pass trusted application data, such as a customer name, plan details, property address, or employee start date.
- Add fields and recipients. Define who signs, initials, approves, or simply receives a completed copy. Assign fields to roles, not just email addresses, when a template may be reused across different transactions.
- Set routing and send rules. Configure signing order, reminders, expiration dates, and any required internal approval. Use a clear rule for who can trigger sending from your app.
- Create a signer session. When the recipient is ready, your backend requests a time-limited signing URL or session and returns only that temporary access point to the browser.
- Receive status events. Use webhooks to learn when a document is viewed, signed, declined, expired, or completed. Update your product records from those events instead of assuming a browser redirect means the agreement was signed.
- Store the final evidence. Once complete, attach the executed document and its certificate or audit trail to the relevant customer, employee, case, or transaction record.
This design is more reliable than polling from the browser. A signer may close a tab after signing, lose connectivity, or complete the agreement from a different device. A verified webhook sent to your backend gives your system a dependable completion signal.
Treat webhooks as security events
A webhook is not automatically trustworthy just because it reaches your endpoint. Verify the provider's signature or shared secret, reject unexpected events, and make processing idempotent. In plain English, your system should be able to receive the same completion event twice without issuing duplicate access, duplicate invoices, or duplicate downstream tasks.
Keep an internal mapping between your application record and the eSignature document ID. Record timestamps for when your app created the request, when it was sent, and when your verified webhook confirmed completion. That mapping makes support investigations far easier when a customer asks, “Did we receive the signed agreement?”
Design a signing experience users will finish
Embedding a signature flow does not mean hiding every step. Users should understand what they are signing, why they are being asked to sign, and what happens next. A short confirmation message before the signing session can reduce confusion: “You are about to sign your service agreement. After signing, your account will be activated.”
Make the transition back to your app useful. On completion, show a clear success state and the next action, such as scheduling onboarding, submitting an application, accessing a purchased feature, or downloading a copy. If a document is still waiting on another signer, say that plainly rather than presenting the transaction as fully complete.
Mobile deserves special attention. Many agreements are signed from phones, so test field placement, scrolling, keyboard behavior, and return states on smaller screens. A document that works well on a desktop can become frustrating when signature fields sit near the edge of a narrow screen or when an embedded frame traps the user in a scroll loop.
Build security and evidence into every agreement
A signature image alone is not the evidence. A defensible eSignature workflow should establish who was invited, how they accessed the document, what they saw, what action they took, and whether the completed document changed afterward.
At a minimum, look for encrypted data in transit using TLS and at rest using 256-bit AES, tamper-evident document sealing, and a detailed audit trail. The audit trail should capture meaningful events such as document creation, sends, views, authentication activity, signatures, and completion, with timestamps and IP addresses where appropriate.
Access controls are equally important. Use expiring signer links, do not expose document IDs as public access tokens, and limit internal team permissions according to role. If your application supports sensitive agreements, consider whether workspace isolation, single sign-on, multi-factor authentication, or bring-your-own storage are requirements rather than nice-to-haves.
For regulated or higher-risk transactions, basic email access may not provide enough assurance. Identity verification can add government ID capture, biometric face matching with liveness detection, and database validation before a person signs. This is useful when your business needs stronger proof of signer identity or must support eIDAS-compliant Advanced Electronic Signatures for European transactions.
The right level of verification depends on the document and the risk. Requiring ID verification for a routine newsletter consent form may create unnecessary abandonment. For financial, legal, healthcare, or cross-border agreements, the added assurance can be worth the extra step.
Plan for failure states before launch
The happy path is simple: create, sign, complete. Real users also decline agreements, enter the wrong email address, miss expiration dates, or need to correct a field after a document is sent. Your product should have an intentional answer for each of these cases.
Let authorized staff void and replace a document rather than editing a sent agreement behind the scenes. Show clear statuses such as Draft, Awaiting Approval, Sent, Viewed, Signed, Declined, Expired, and Completed. If your workflow has multiple signers, surface who is holding up the process without exposing information they should not see.
Test these scenarios in a sandbox before release: a signer completes on mobile, a signer declines, a webhook arrives late, a document expires, and two internal users attempt to send the same agreement. The best embedded experiences feel simple because the complicated cases were handled before customers encountered them.
Keep the agreement lifecycle connected to your product
The highest-value eSignature integrations do more than place a signature box inside an app. They turn completed agreements into usable business events. A signed order form can create a customer record. An approved offer letter can start onboarding. A completed consent form can release a workflow that was previously blocked.
BeeSign's API-first approach mirrors the actions teams use in the dashboard, so product teams can create documents, manage templates and forms, route approvals, and administer agreement workflows without sending users into a separate system. That means your product remains the place where work happens, while the agreement record stays complete, secure, and easy to audit.
Start with one high-volume workflow where a signed document directly triggers value for your user. Make that path clear, secure, and measurable. Once people can move from intent to a signed agreement without leaving your product, the buzz around a better customer experience tends to follow.
Ready to transform your workflow?
Start using BeeSign today and experience the future of document signing